File Management: How to Manage Your Server-Side Caching
File caching can make your site load very fast. Browsers do this by storing your site's elements (pictures, buttons, links, etc.) that did not change since it was last accessed. Loading locally cached resources are faster to fetch than retrieving files from a remote server.
There are two factors that you need to consider when caching file types:
- What files to cache?
- How long should they be cached?
HTML files - are typically cached for a short period. This tells a browser to cache the file and frequently check with the server if there's a newer version.
CSS files - can be cached for a shorter period since they tend to change more often.
Script files - generally don't change very often, so they can be cached for a long period.
Image files - also don't change a lot, so they can also be cached longer.
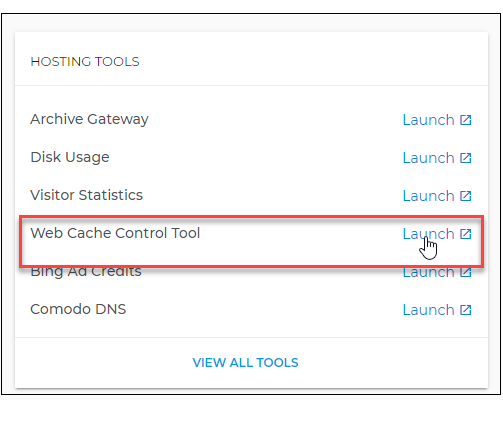
How to Manage your Server-Side Caching
- Log in to your account Hosting Summary.

- Go to HOSTING TOOLS and click the Launch link for Web Cache Control Tool.
- Designate how often the server updates the cache for each file type.
NOTE: The screenshot shown above is for illustration purposes only. It is up to you to determine which file type and how long they should be cached.
- Click Save Changes.


Important: While this tool controls the caching for your entire hosting account, you can customize your settings through the use of .htaccess files (recommended only for advanced users). This is particularly useful if you host multiple websites on your hosting account and want different caching settings for each.